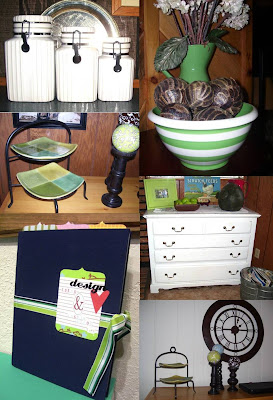
 To start, open a blank, full-size page in Publisher. Next, simply insert the photos you want to include in your collage, not worrying about placement at first. I found it easier to drag them off to the side of the page, on the workspace, until I'd found all the pictures I liked.
  Now, decide which photo(s) you'd like to be your focal point, and place that on the page. To resize, you just click on a corner and drag. Publisher automatically resizes, keeping the ratios correct so your photos don't "squish" and get out of proportion.
You won't need to worry about cropping, because you can layer your photos to hide any unwanted space. Just select the photo, choose "order" and send it to the back, to layer it beneath another photo.
Once you have all your photos placed (it'll take some fiddling with size, etc.) then choose edit, select all, then right click your collage and choose "group". This makes the photos one item, so you can't accidentally move something or delete a single item.
You'll want your photos to stay within the margin that shows around the blank page, otherwise they may not print correctly. If you end up with a blank space, you can insert text (like in the kitchen collage), clipart or pretty much any other graphics you can think of. Oh, the possibilities!
I uploaded my collages to walmart photo online, had them printed in 8x10, and sent right to the store to pick up. They can be done same day for a great price.
I can't wait to scrap these!
If you have any questions about these, just drop me an email or leave a comment.


No comments:
Post a Comment